The AI drone integration pillar guide covers the full engineering discipline. This one is the other end of the telescope: the smallest honest version that teaches you the whole chain — camera to model to MAVLink — on a bench and then in the air, in roughly a weekend of work.
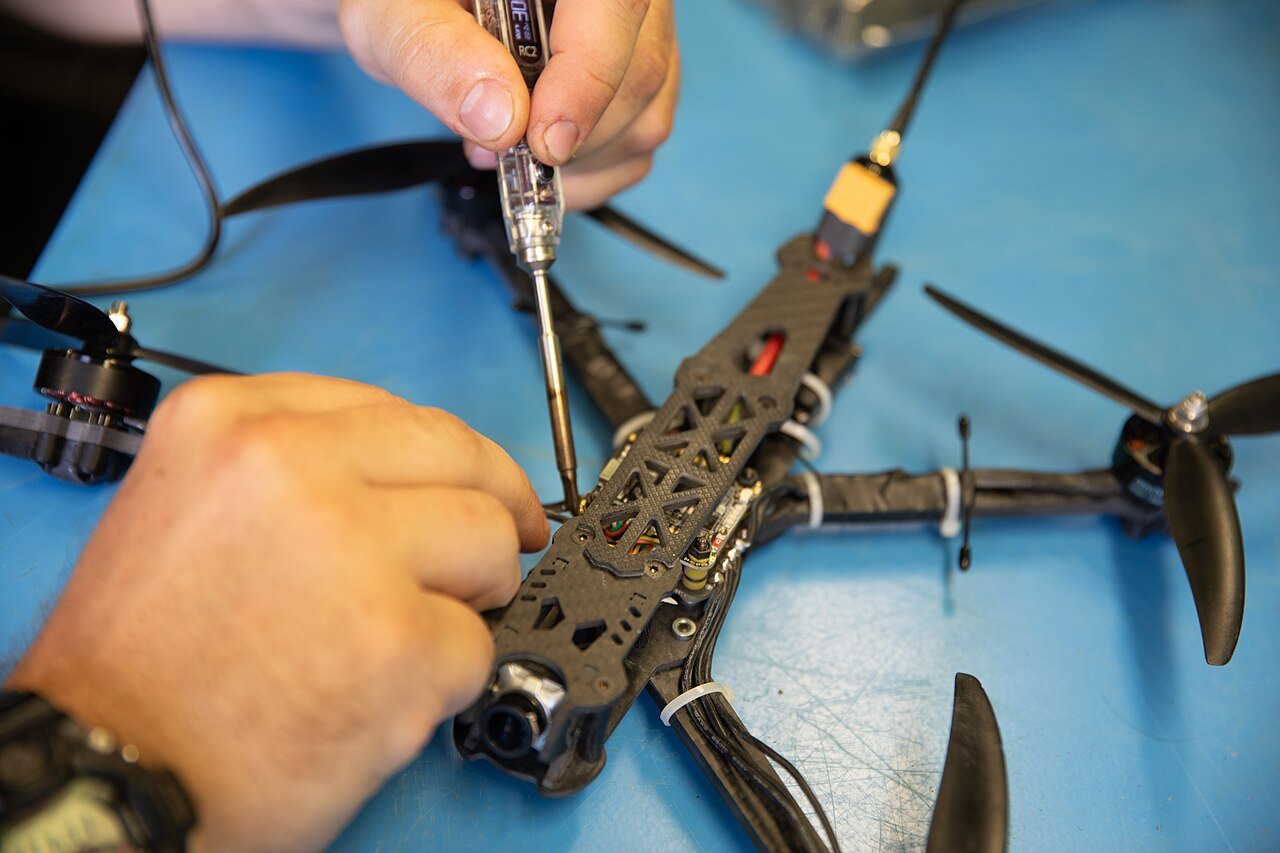
The minimal honest stack
| Part | Starter pick | Budget | Notes |
|---|---|---|---|
| Aircraft | Any quad lifting ~250 g extra, PX4/ArduPilot flashed | what you have | A 7-inch FPV frame or an old camera quad both work |
| Companion computer | Raspberry Pi 5 (or Jetson Orin Nano if budget allows) | €90–280 | See the companion computer guide |
| Camera | Pi Camera Module 3 / global-shutter variant | €30–60 | Stiff mount; vibration is the model's enemy |
| Power | 5V/5A BEC from the flight battery | €15 | Never off the FC's rail — brown-outs are ghosts |
| Link to FC | Spare UART (TELEM2) or Ethernet | €5 | MAVLink at 921600 baud is plenty to start |
| Optional NPU | Hailo/Coral accelerator | €70–110 | Takes Pi-class detection from ~2 to 20+ FPS |
Total on top of the aircraft: €300–700. Everything transfers later to a serious build — including, more importantly, everything you learn.
The build, in five bench sessions
- Power and mount. BEC to the flight battery, companion board strapped where airflow exists, camera hard-mounted looking forward-down. Solder and strain-relieve like the aircraft vibrates — because it does. (The payload integration checklist applies at any scale.)
- Talk to the flight controller. Wire UART↔UART, enable MAVLink on the port, and prove it: read attitude and battery from a Python shell with pymavlink or MAVSDK. Until
heartbeat received, nothing else matters. - See. Camera pipeline up (libcamera/GStreamer), verify honest frame rate and latency numbers with the props on and spinning on the bench — rolling-shutter jello shows up now, not at 40 m.
- Think. Run a stock detection model (a YOLO-class network via ONNX Runtime or the vendor runtime) on the live feed. Log detections with timestamps; overlay boxes on a streamed preview. Resist training anything yet — stock weights teach the plumbing.
- Connect, carefully. First integration is read-only: geotag every detection with the aircraft's position from MAVLink. That's already a product-shaped capability — "flew the field, here's where the things are" — with zero control-path risk.
First flight, first useful mission
Fly a normal automated survey pattern — the autopilot flies, your stack watches. Land with a map of geotagged detections and three numbers you'll actually use: achieved FPS in flight, companion CPU temperature, and the count of dropped frames. Iterate on those before adding ambition. When you do close the loop (a "fly to detection" behaviour), keep the pillar guide's architecture rule: the AI proposes bounded commands, the flight controller and its failsafes stay in charge, and killing your process mid-flight must always be a non-event — test exactly that, on purpose, per the flight test guide.
What to skip (for now)
- Training custom models — stock weights until the plumbing is boring.
- Obstacle avoidance — the deep end of the pool; visit it with the pillar guide, not a weekend.
- ROS 2 — worth it at team scale; a 200-line Python script teaches faster alone.
- New aircraft purchases — the drone is the least interesting part of this project.
Every hard problem in production AI drone integration — power, vibration, thermal, latency, the safety boundary — shows up in miniature in this build, at a price where mistakes are lessons instead of losses. Teams that start here argue about real measurements two weeks later; teams that start with a hardware shortlist argue about datasheets for a quarter.
Frequently asked questions
What is the cheapest way to add AI to a drone?
A used or COTS quad that can carry ~250 g extra, a Raspberry Pi 5 or Jetson Orin Nano class board, a camera module, a BEC for clean power and a UART or Ethernet link to the flight controller. Working setups start around €300–700 on top of the aircraft — the learning is free.
Do I need a Jetson for a first AI drone project?
No. A Raspberry Pi 5 (optionally with a small NPU like a Hailo hat) runs meaningful detection at a few FPS — enough to learn the whole integration chain. Move to Jetson-class hardware when your application needs 20+ FPS or heavier models, not before.
Can I do AI drone integration without writing flight-control code?
Yes — and you should. The flight controller keeps flying the aircraft exactly as before; your AI code runs on the companion computer and talks over MAVLink (e.g. via MAVSDK or pymavlink), sending at most high-level commands like waypoints or gimbal pointing. You never touch the control loops.